Laser Power Supply Indicator Light Blinking
Quick Troubleshooting Guide for Fiber Laser Users
If your fiber laser power supply indicator light keeps blinking, don’t panic.
In most cases, this is a protective warning, not a serious laser failure.
This quick guide explains what it means and what to check, in plain language.
What Does a Blinking Indicator Light Mean?
A blinking red or alternating red-green light usually indicates that the laser power supply is not in normal working status.
Common reasons include:
-
Power signal abnormality
-
Cooling water issues
-
Incorrect internal power settings
-
Unstable input voltage
Most of the time, the laser source itself is not damaged.
Step 1: Safety Check (Do This First)
Before any inspection:
-
Turn off the main laser power
-
Shut off the cooling water
-
Wait at least 10 minutes after power-off
-
Make sure there is no residual voltage
This avoids electric shock and component damage.
Step 2: Check Cooling Water System
Cooling problems are a very common cause of alarms.
Make sure:
-
All water pipes are fully inserted and locked
-
No leaks or loose connections
-
Water flows normally after restarting
After restoring water, wait a few minutes and observe the indicator light again.
Step 3: Check Power and Signal Connections
Next, inspect the wiring:
-
Input power should be stable (usually AC 380V ±5%)
-
Power cables must be firmly connected
-
Control and signal wires should not be loose or reversed
Even a small connection issue can trigger warning lights.
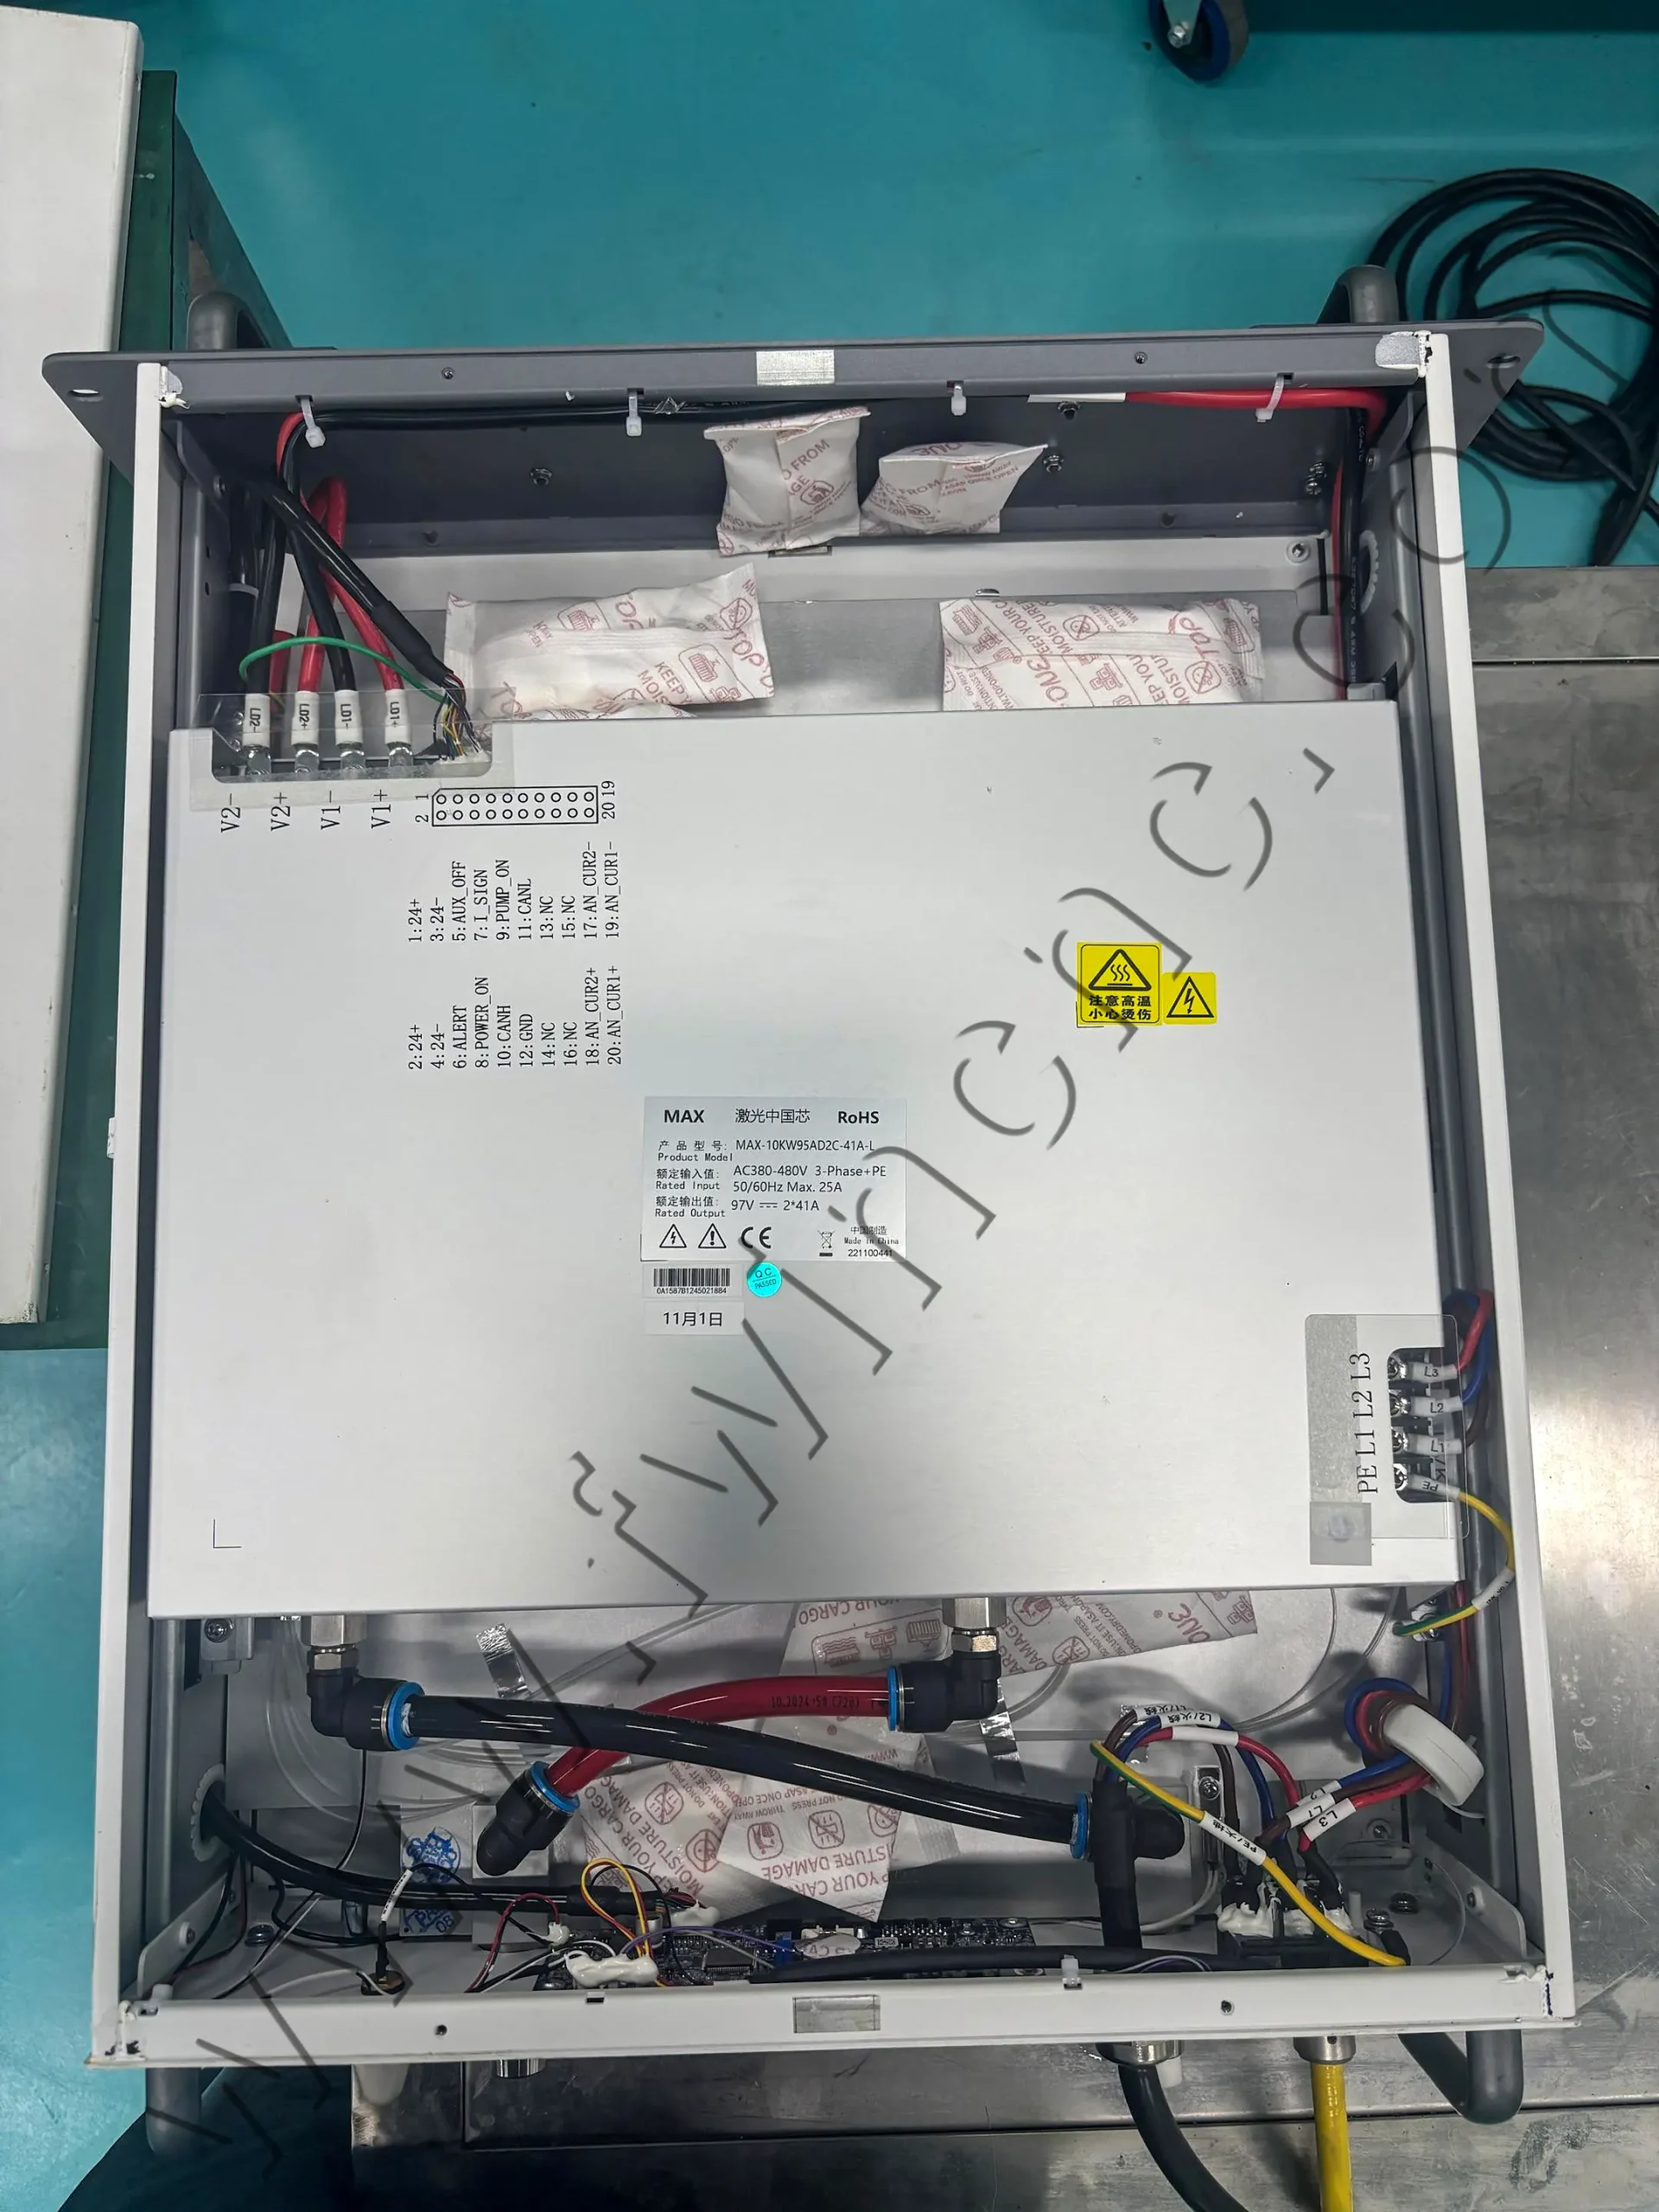
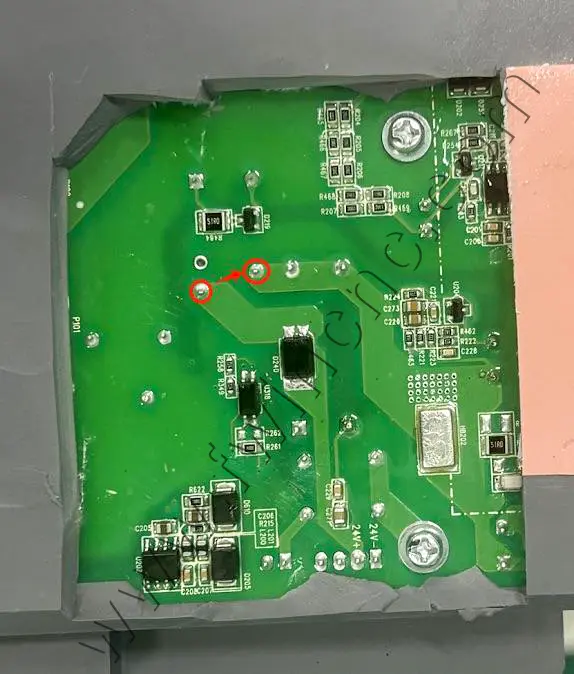
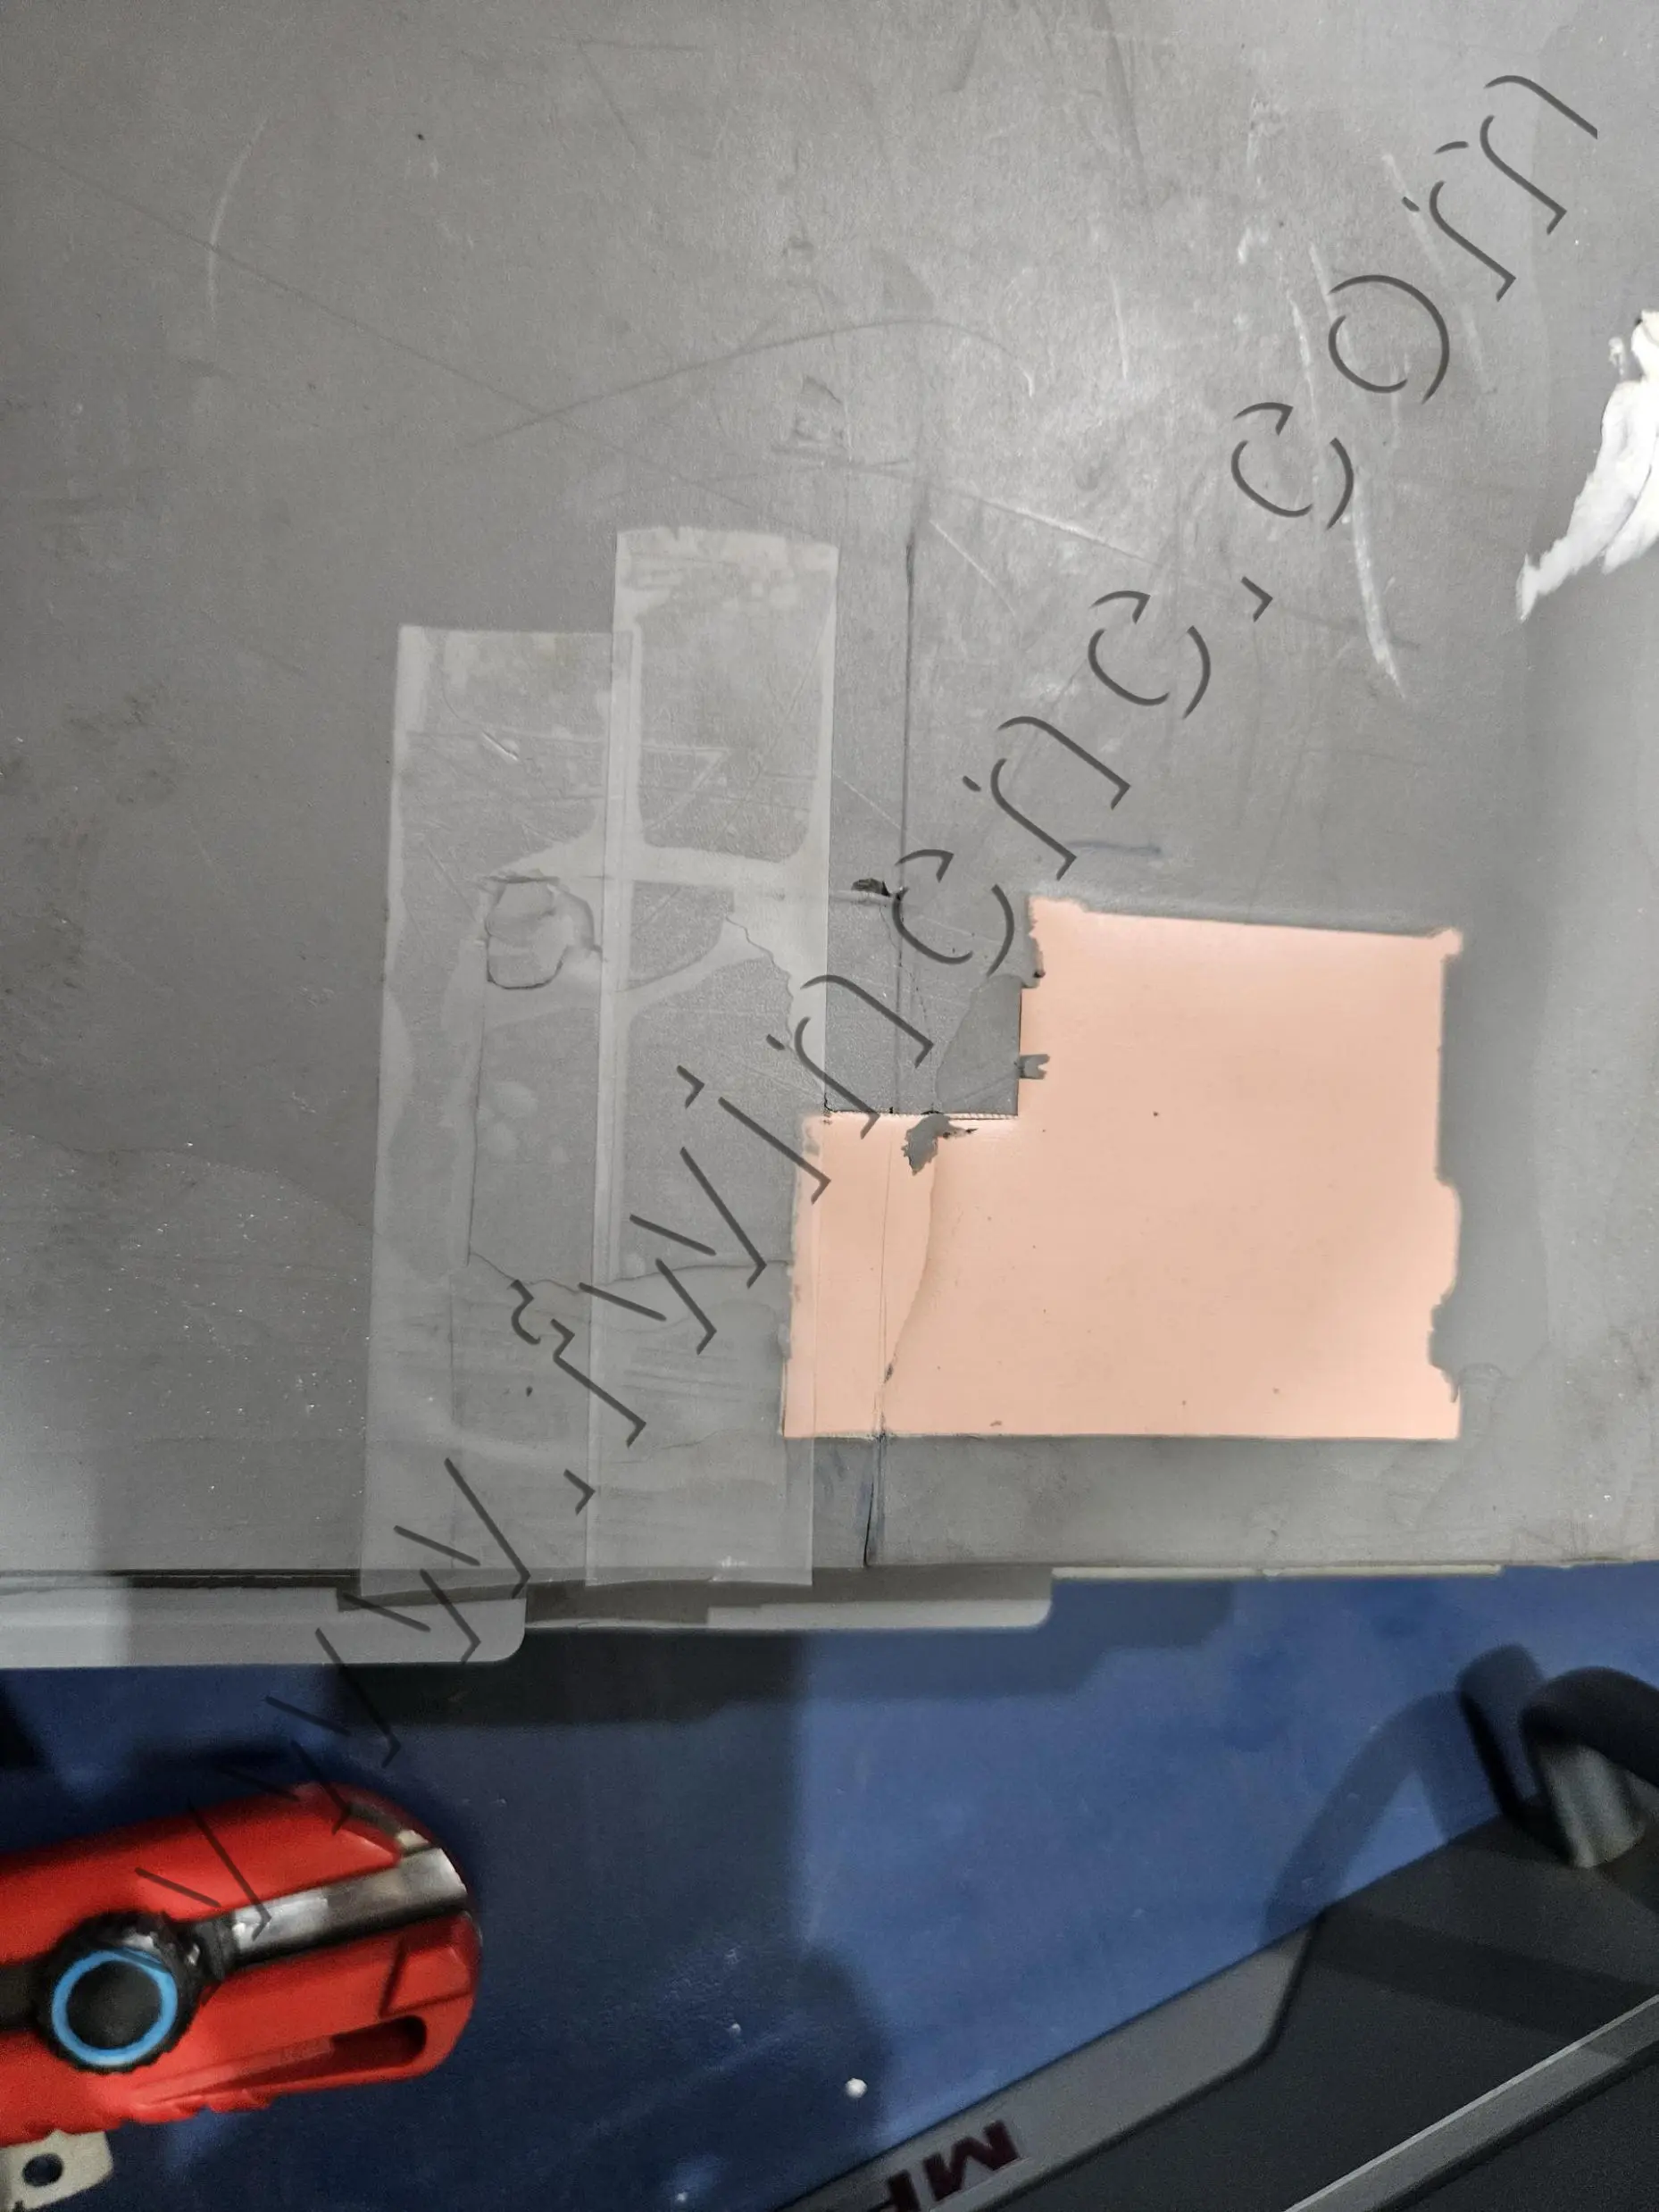
Step 4: Power Supply Adjustment (If Required)
In some cases, the power supply needs a simple internal adjustment to return to normal operation.
This may include:
-
Opening the power supply cover
-
Removing protective silicone in a specific area
-
Bridging designated solder points
This step should be handled by trained technicians only.
Step 5: Power-On and Functional Test
After everything is restored:
-
Turn on cooling water and check for leaks
-
Power on the system
-
Observe the indicator light
-
Alternating red and green usually means normal status
-
-
Run a low-power laser test (around 10%)
-
Let the machine run for 20–30 minutes to confirm stability
Final Summary
A blinking laser power supply indicator light is usually a warning, not a failure.
Most issues are related to cooling, wiring, or power settings, and can be resolved with basic checks.
If the alarm continues after inspection, professional technical support is recommended.