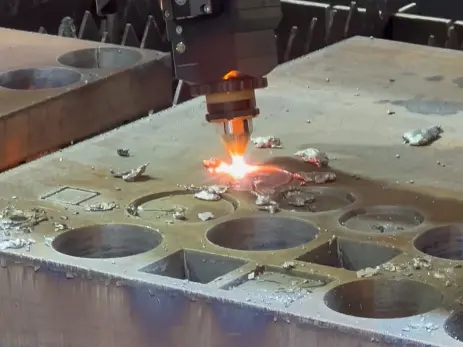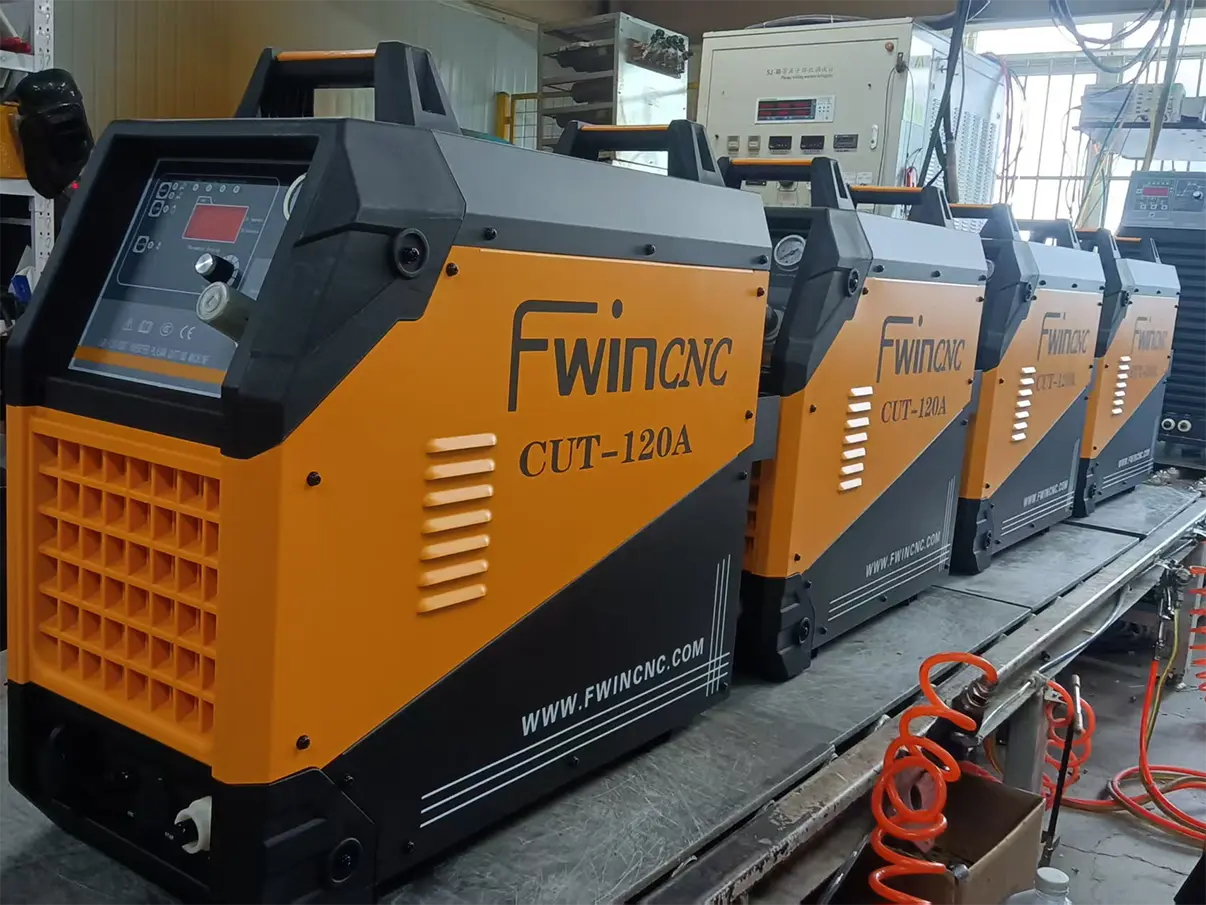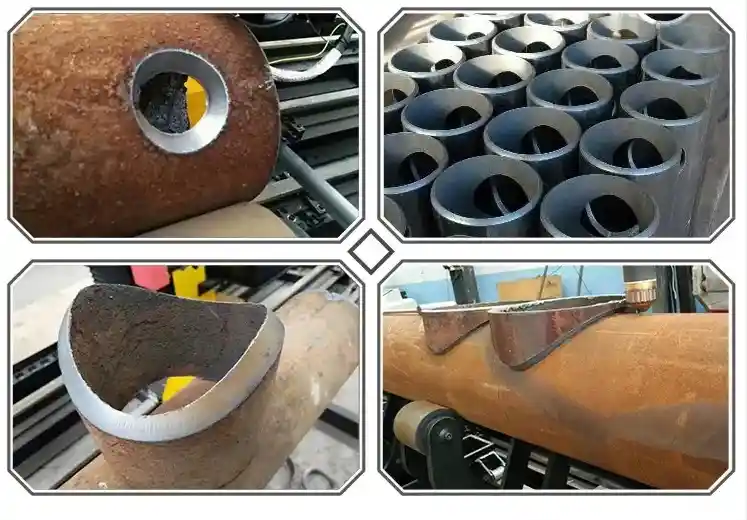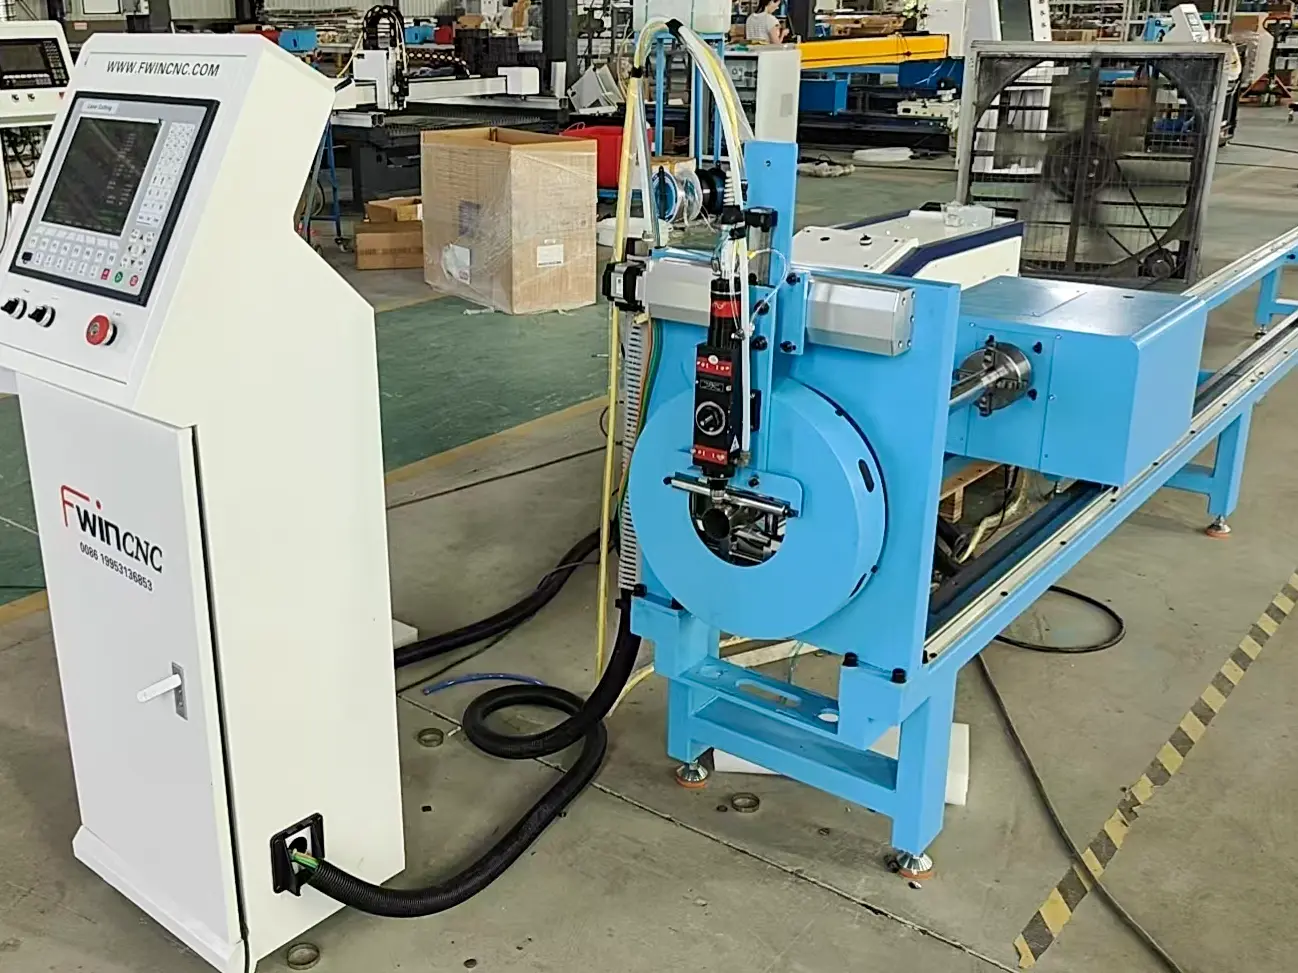
Standing in front of a CNC machine and asking “why is my plasma cutter not cutting through” the steel plate is one of the most frustrating experiences on the shop floor. Instead of a clean drop cut, you get incomplete pierces, violent upward slag showers, and parts fused solidly back to the main sheet. At Jinan Allwin CNC Machinery Co., Ltd. (Fwincnc), helping operators diagnose why their torch fails to achieve full penetration is a daily part of our technical support services.
1. What Happens When a Plasma Cutter Fails to Cut Through?
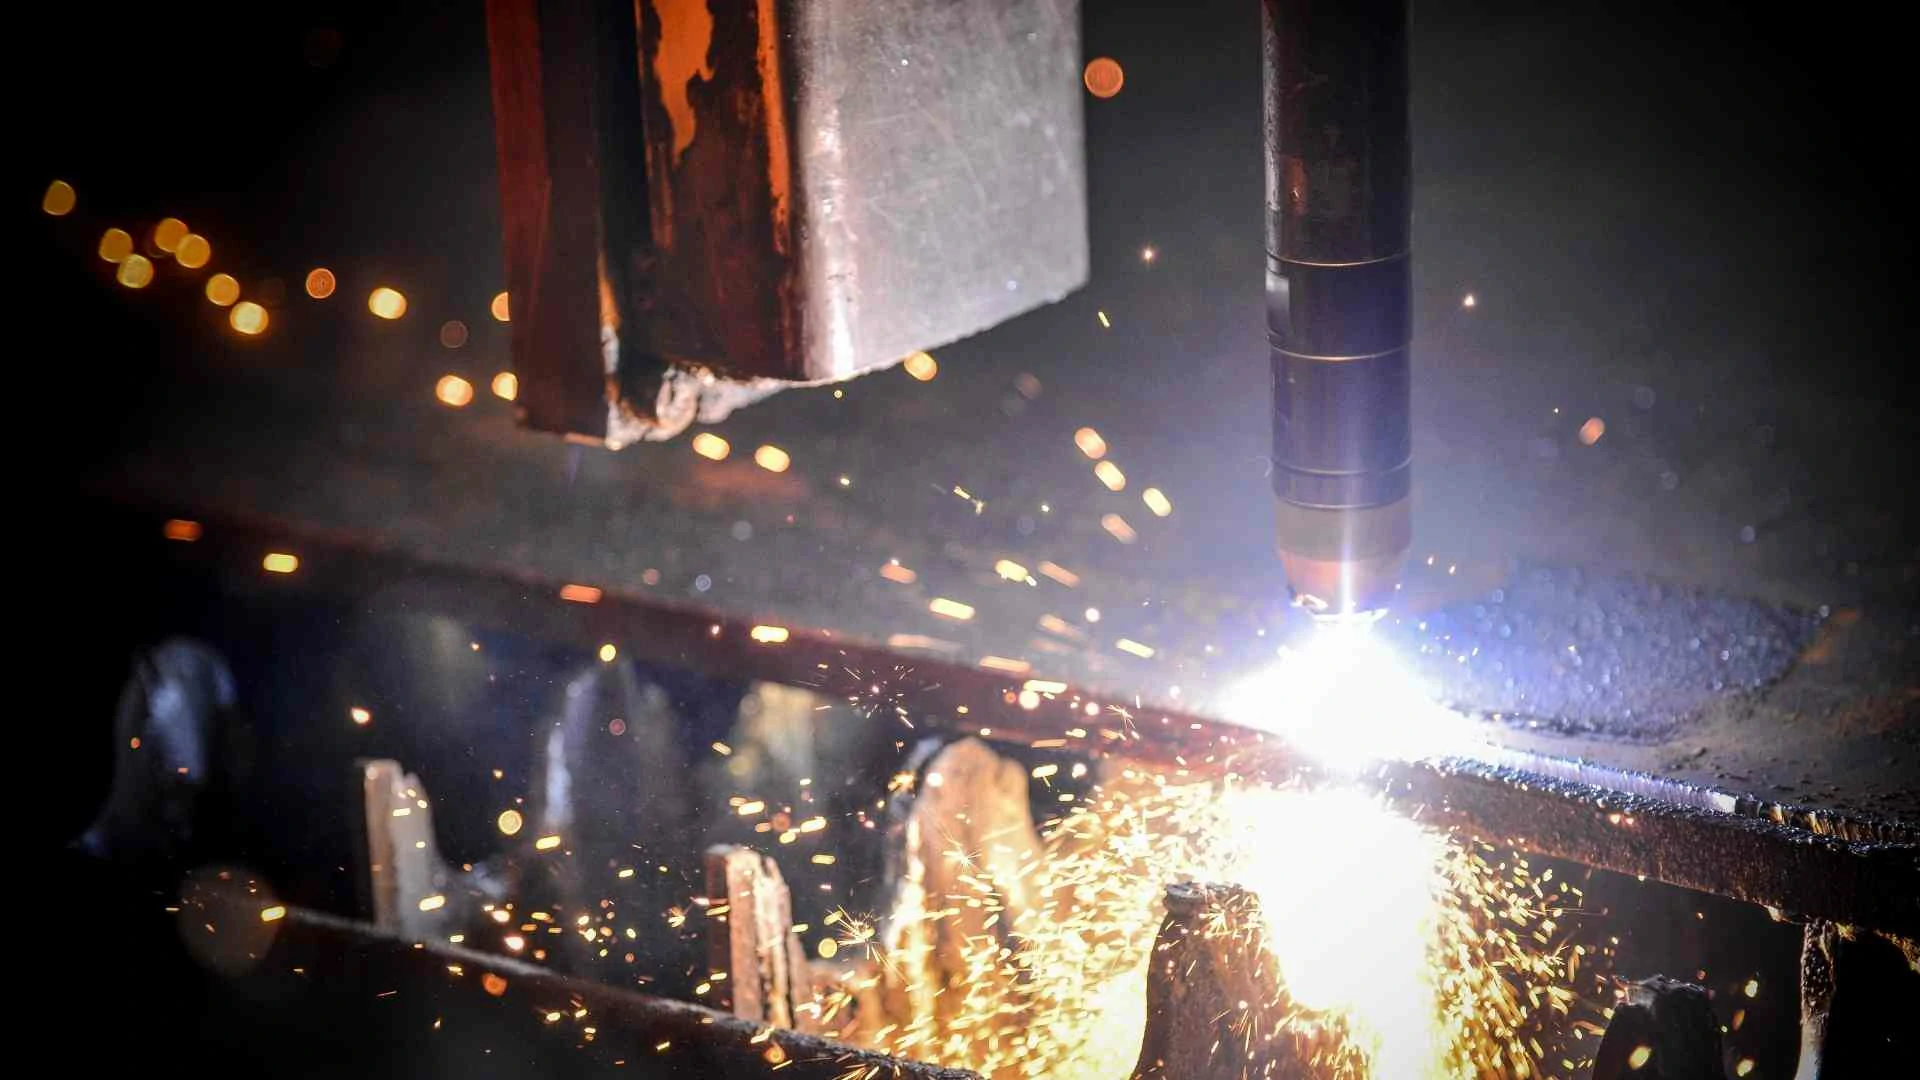
When a plasma system functions correctly, the high-density electric arc and high-velocity gas jet work together to melt metal and instantly blow it straight down through the kerf slot.
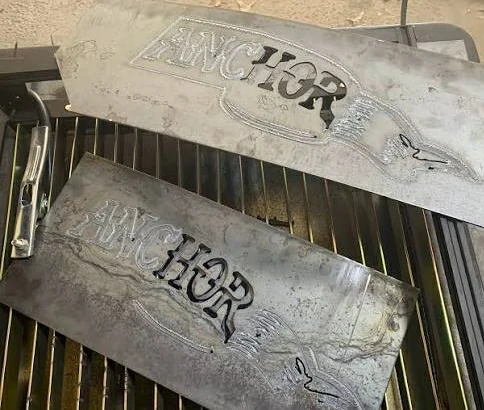
If you are asking why is my plasma cutter not cutting through, it means the thermal energy density or kinetic gas force has dropped below the threshold required for the metal’s thickness. The molten metal pools inside the slot, cools rapidly, and fuses the workpiece back together, creating stubborn bottom dross or causing the torch to smash directly into hardened slag mounds.
2. The 5 Main Causes and How to Fix Them
When troubleshooting an incomplete cut on your CNC plasma table, check these five primary variables before modifying your nested CAD/CAM drawings.
1. Weak or Improper Work Grounding Clamp Connection
A plasma cutting circuit requires a clean, unbroken path for electricity to flow from the torch cathode through the plate and back to the power supply ground. If your ground clamp is attached to heavily rusted, painted, or mill-scale-covered steel—or clamped to the table frame instead of directly to the workpiece—the arc resistance rises sharply. The controller drops output current, causing the arc to snuff out halfway through the material thickness.
2. Excessive Travel Speed (Cutting Too Fast)
If the machine gantry moves faster than the thermal arc can melt the metal, the plasma column drags backward at an extreme angle. You will see sparks flying off to the side or upward instead of streaming straight down beneath the bed. Always verify that your linear cutting speed matches the factory feed-rate chart for your exact plate thickness and output amperage.
3. Worn or Contaminated Consumables
When the hafnium core inside your electrode burns down past 1.5 mm, or when the central orifice of your copper nozzle turns ovalized from double-arcing, the plasma jet loses its tight shape. The arc spreads out into a loose, low-density cloud that lacks the focused heat to penetrate thick carbon steel or alloy plates.
4. Incorrect Air Pressure and Moisture Contamination
Plasma cutting requires clean, dry air at a stable dynamic pressure (typically 6 bar to 7 bar). If line pressure drops during active firing, the gas jet cannot push the molten steel out of the slot. Furthermore, if wet air from your compressor reaches the torch, water droplets vaporize and disrupt the ionization process, drastically reducing arc temperature.
5. Incorrect Torch Height Control (THC) Standoff
If your initial pierce height or active cutting height is set too far above the plate, the arc column must stretch out to maintain contact. Stretching the arc increases electrical resistance, dropping the effective amperage at the cut face and leaving a thick layer of un-cut metal along the bottom edge.
Quick Diagnostic Checklist for Operational Staff
| Visible Physical Symptom | Root Operational Cause | Instant Shop-Floor Correction |
| Sparks spraying straight up into the air | Severe loss of arc penetration | Stop program; reduce travel speed by 15-20 percent and re-test. |
| Arc cuts fine for 2 inches, then stops penetrating | Inadequate ground circuit or overheating | Attach ground clamp directly to clean metal on the cutting plate itself. |
| Heavy, hard dross welded to the bottom edge | Travel speed too slow or air pressure too low | Increase feed rate or check dynamic flowing air pressure gauge. |
| Beveled edge angle exceeding 5 degrees | Severely worn nozzle orifice or incorrect THC height | Swap out the worn nozzle and recalibrate your THC reference voltage. |
3. Step-by-Step Sequence to Restore Full Penetration
When asking why is my plasma cutter not cutting through on a live production line, run through this procedural check to get your machine back on track:
1.Clean and Re-attach the Ground Clamp:Ground Verification.
By systematically auditing your grounding, air purity, and wear components, operators using Fwincnc plasma systems can quickly diagnose cut failures, preserve consumable lifespans, and maintain clean, perpendicular production cuts.Why Is My Plasma Cutter Not Cutting Through Why Is My Plasma Cutter Not Cutting Through Why Is My Plasma Cutter Not Cutting Through Why Is My Plasma Cutter Not Cutting Through Why Is My Plasma Cutter Not Cutting Through